ARCHIVED: Using the Schedule Builder to plan a term of courses
The Schedule Builder tool helps you generate a workable class schedule each semester. The tool scans all available sections of the courses in your plan for the upcoming term, and provides you with options based on class offerings and your availability. You can block out times when you cannot take classes, so the tool will return only courses that accommodate your schedule.
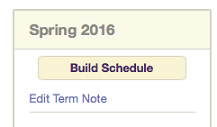
- When your campus's schedule of classes for the upcoming term is available, and the courses you want to take are in your plan, a button will appear at the top of that term. Click it to start building your schedule.
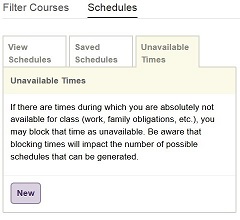
- You'll see tabs for and . Click the tab, and then the tab. You will begin by noting times you need to avoid by completing "New Reserved Time" sections as needed. Bear in mind that any times you block will impact the possible schedules you'll be able to generate.
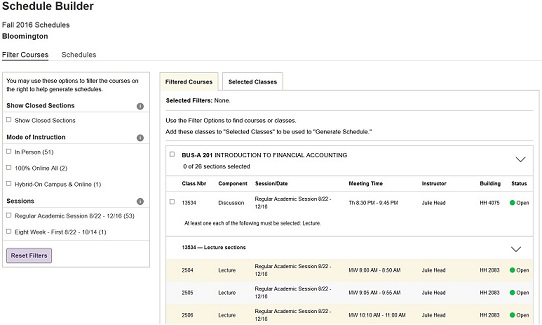
- The tab will display the courses in your plan with their corresponding sections.
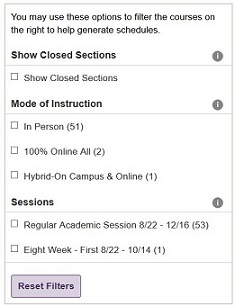
- Use the menu on the left to filter courses as you wish.
- Select the checkbox for each section you are available to take. After you've determined all possible class sections, click at the bottom. You can then review a summary of the courses you've selected by clicking the tab.
- When you are satisfied with your list of selected classes, click . Schedule Builder will construct all possible class schedules for you.
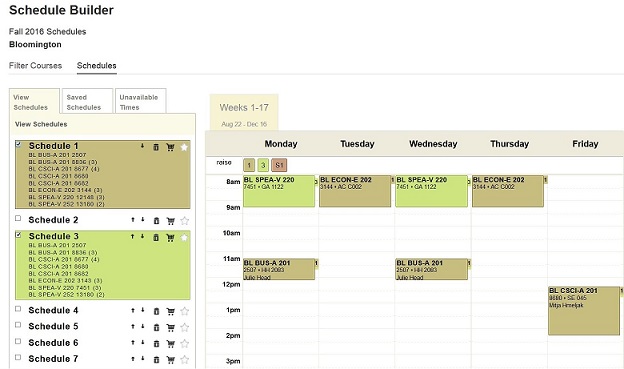
- Schedule Builder will return options for the upcoming term, with different schedules in different colors. Course sections that appear in multiple schedule options will be indicated on each schedule.
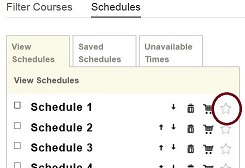
- Take time to identify your preferred schedule. Then click its star icon to save it under the tab for discussion with your advisor.
- You can move the courses into your Enrollment Shopping Cart by selecting the appropriate schedule's shopping cart, but be careful not to do that too far in advance of registration. If some of the sections you selected close before you can register, you'll need to remove items from your cart and return to the Schedule Builder.
When you click the shopping cart icon, you'll be sent to the Student Center. Answer the enrollment prompts, and proceed to validation. Check all courses listed, and click .
After validation is complete, you will use the shopping cart to register on the date and time of your enrollment appointment.
For more, see a playlist of introductory videos.
This is document advq in the Knowledge Base.
Last modified on 2018-03-07 16:31:27.