Restore files from the Data Protection Services (DPS) Command Center console for a Linux or Windows VM using the Restore Only Agent (ROA)
These instructions assume that you have installed the Data Protection Services (DPS) Restore Only Agent (ROA) prior to initiating the restore. If not, see You do not have sufficient permission to view this document..
If you downloaded or installed the agent in the past, verify that your version is up-to-date by comparing your version to the one available from IUware. Both Linux and Windows versions of the agent are available. Restore attempts for VMs that are using a down level version of the agent could potentially run into issues when attempting browse and restore operations. For more, see Data Protection Services (DPS): Known limitations.
To avoid possible client naming conflicts in DPS, the SAV team recommends that you uninstall the agent from your system prior to installing the updated client version. For instructions, see Uninstall the Data Protection Services (DPS) Restore Only Agent (ROA).
- Open your web browser and navigate to https://dps.uits.iu.edu:8443/commandcenter/.
- Log in using the same account you use to administer your virtual machines (VMs) in vRA. You will be redirected to IU Login to complete the login.
Note:The account you use needs to be configured to receive Two-Step Login (Duo) push requests.
- Once you are logged in, you will see the following window:
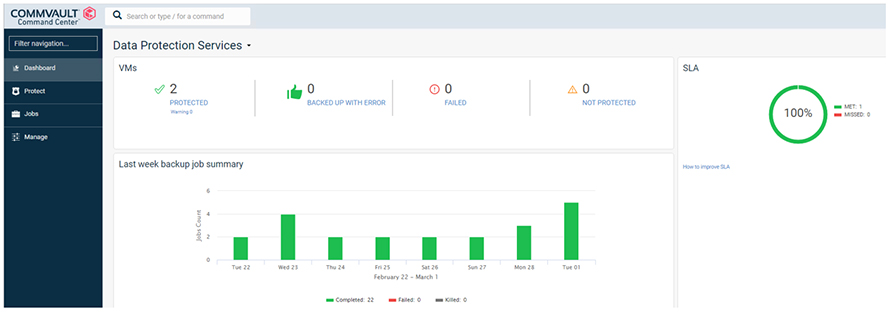
- In the above window, select . In the resulting window, select :
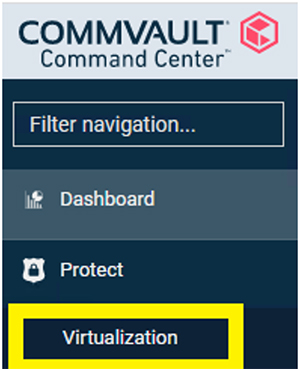
- DPS will open a new window and begin loading the VMs to which you have access. Once loaded, the new window will appear like the following:

- To select a server to restore files from, select the name of the VM under the "Name" heading.
- You will be redirected to an overview window that displays a summary and all the recovery points available for the virtual machine. Recovery points will be identifiable by the gray circle around the date.
- Select a recovery point date to reveal the option and the approximate time the recovery point was taken. Select to choose this selection.
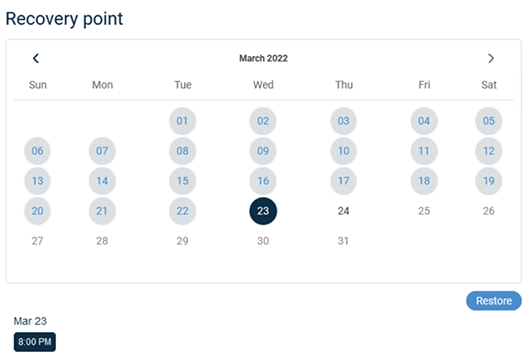
- Select .

- Across the top of the screen, a navy progress bar will fill from left to right as DPS locates the VM and reads the indexed backup data for that server. Once the index has been successfully read and loaded, you should see the directory structure available for restore.

- Browse to the directory that contains the file(s) you want to restore. Once there, you will see a list of available files.
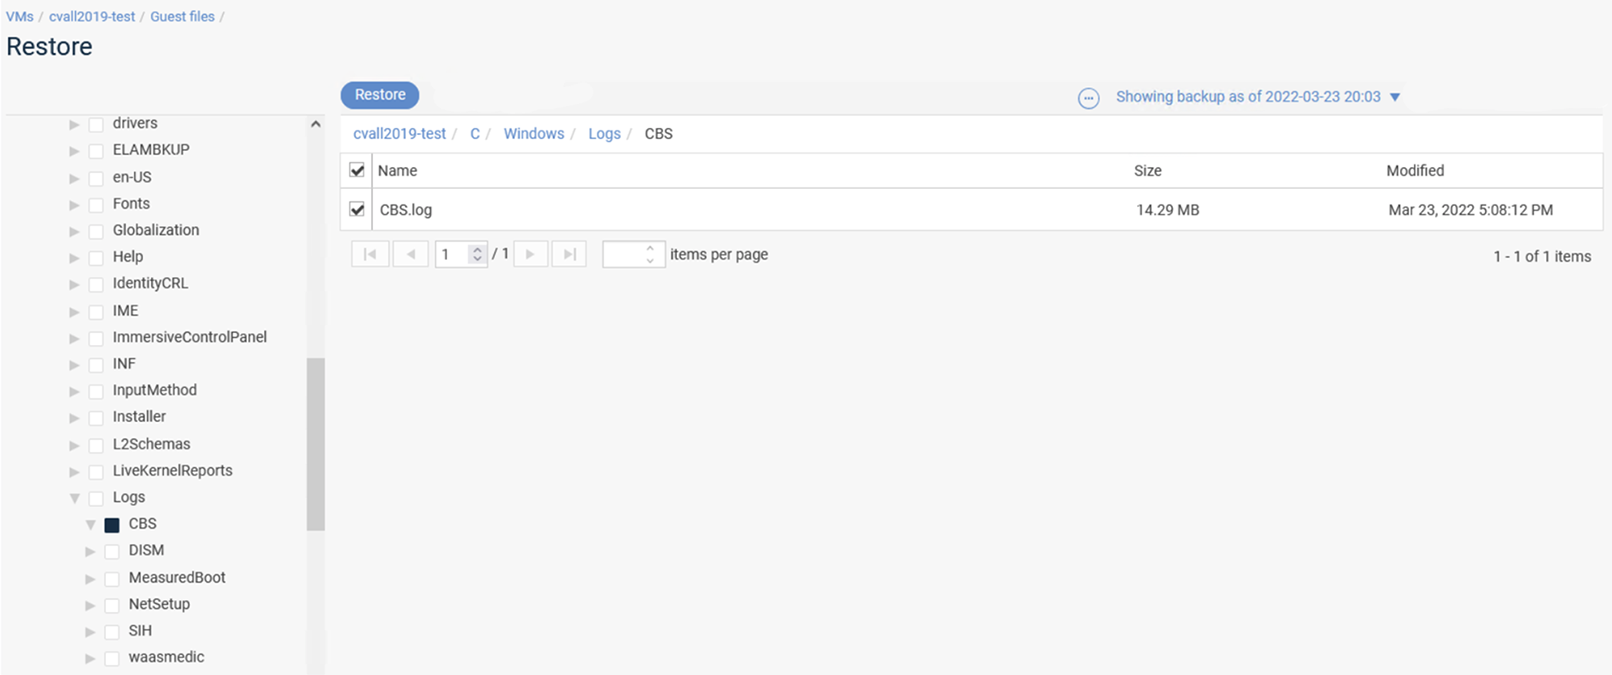 Note:When browsing files for a Linux VM, you may need to review the
cvlostandfoundfolder to recover files from volumes that are mounted to the file system and not local to the server.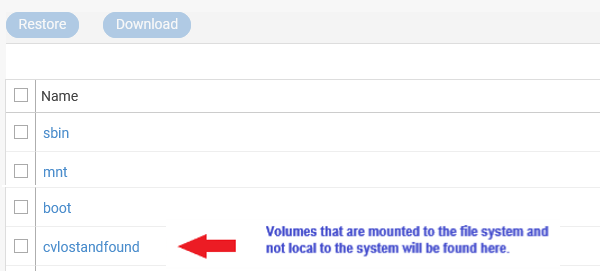
- Select the file(s) you want to restore, and then select .
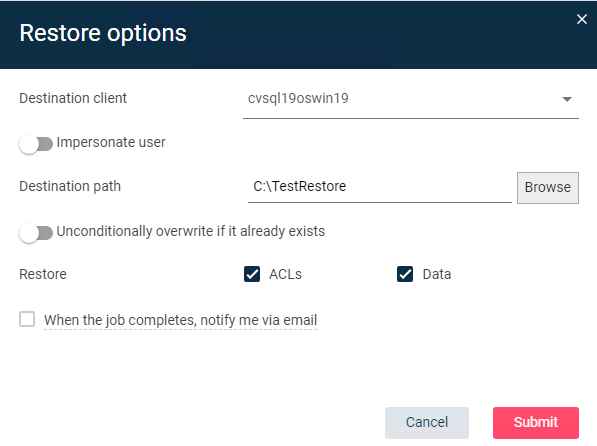
- The "Restore Options" window will appear:
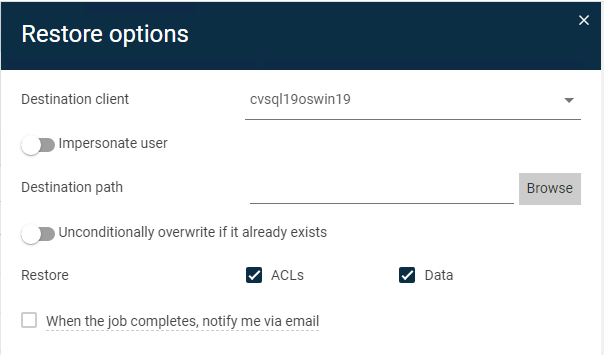
- To select the destination path for the restored files, select . A browse window will appear:
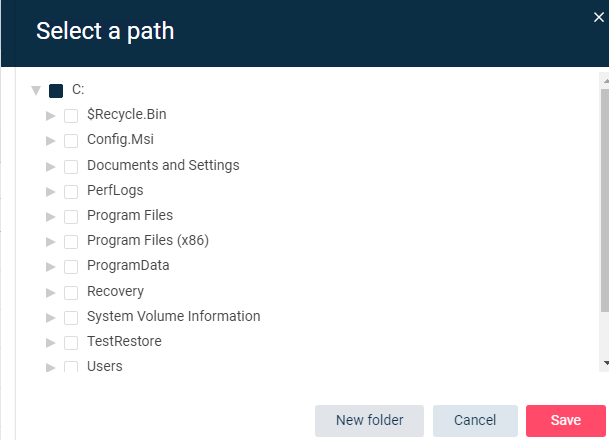
- Once you have picked the directory to restore the files to, select the checkbox to the left of the directory name, and then, at the bottom of the screen, choose .
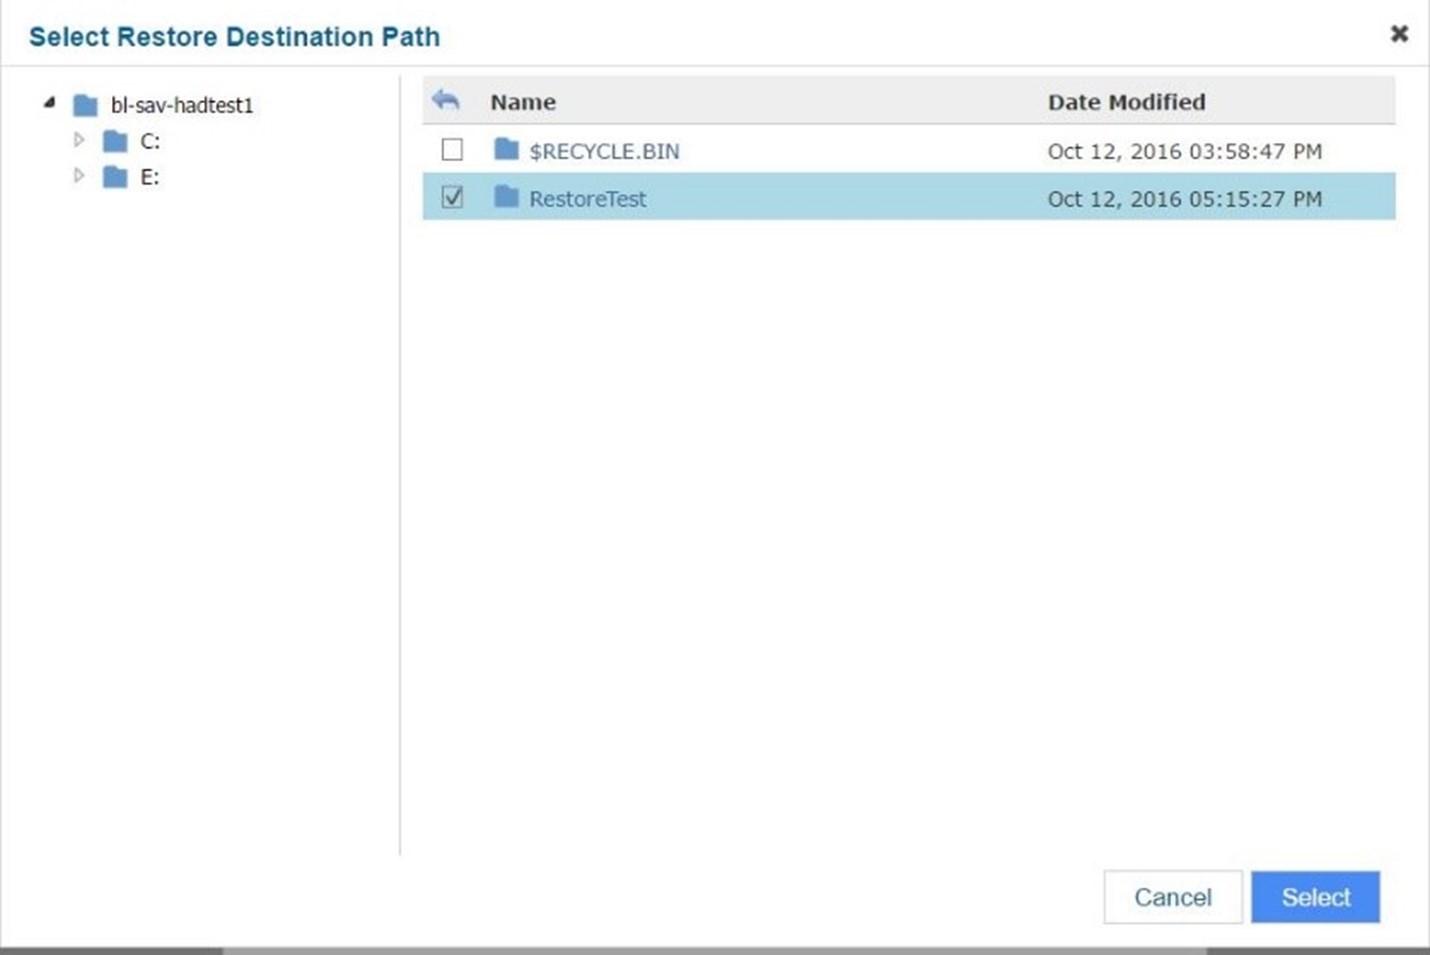
- The path you selected is now represented in the text box. Double-check that this is the path you want to restore to, and whether you want to overwrite any files or folders within that path. If everything looks correct, select to start the restore.
- To monitor the progress of the restore process, select in the pop-up that appears after you select .

- If you see any issues, email Storage and Virtualization at sav-request@iu.edu; include the name of the VM, the date and time that you are attempting to restore from, the job ID (if known), and a brief description of the issue.
This is document anjn in the Knowledge Base.
Last modified on 2024-06-12 12:33:17.